Showing posts with label How to do. Show all posts

Saturday, February 4, 2012

How to Manually Bypass Trial Period of Softwares


This trick generally works for most of the 3rd party applications, here we won't use any kind of time stopper or lame stuff like that.
What we will do is clear tracks so that app doesn't realize we used the software before uninstalling it and are reinstalling it.
First thing to do is uninstall the application.
Go to Start Type "Regedit".
Go to HK Local Machine -> Software -> Your Software name. Delete the Key.
Do this for HK Current user if there exists a key of that software.
Go to run type "%temp%. Delete all files. Well they are just temporary files so it won't matter, it will only clean up ur pc little bit if not anything else.
Go to Users -> Username -> Appdata Check all 3 directories that is "Local", "LocalLow", "Roaming" for your software entry. Delete that.
Reinstall application and enjoy the next trial.
Just perform this everytime trial expires.

Saturday, January 21, 2012

How to creat an iTunes App Store account without a credit card on a computer

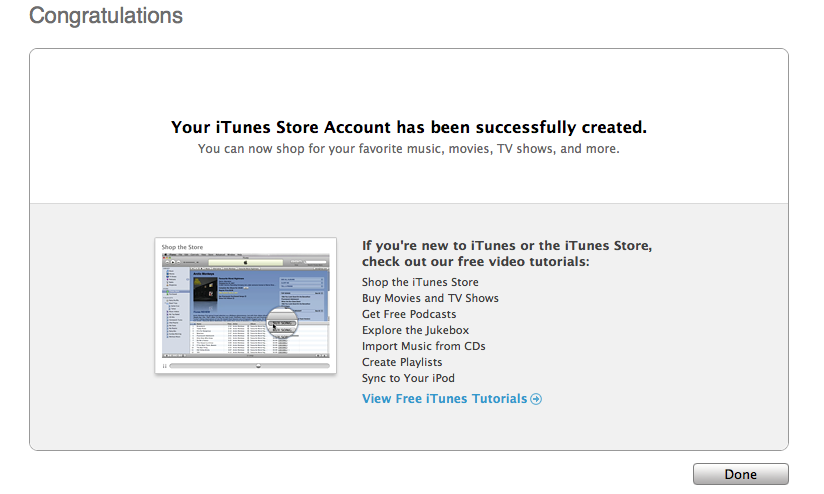
    Congratulations screen text: "Your iTunes Store Account has been successfully created..."
  1. If you already have an account, open iTunes. From the menu bar choose Store > Sign Out.
  2. Click iTunes Store (on the left side of the iTunes window) and pick your country by clicking the appropriate country flag located in the bottom-right corner of the main iTunes Store page.
  3. Navigate to the App Store by clicking on App Store from the top navigation bar.


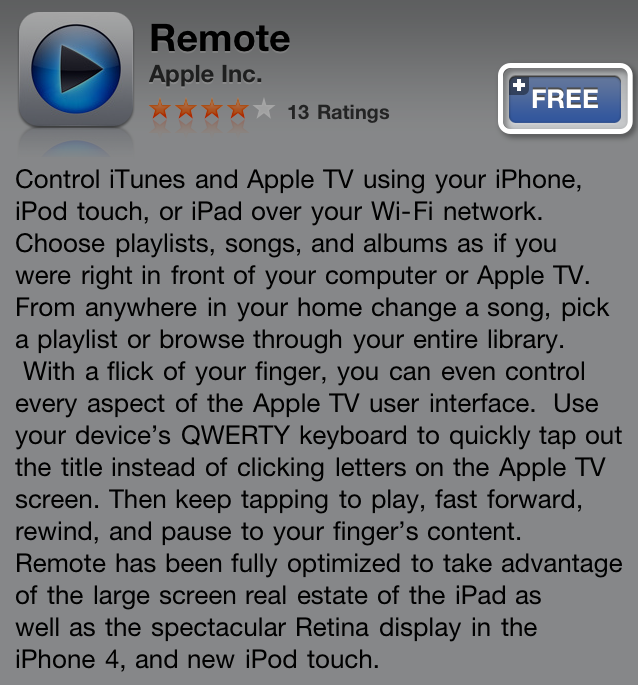
  4. Important: Before proceeding to the next step, you must download and install a free app. To find a free app, navigate to the Top Charts column on the right hand side of the App Store window. Scroll down until you can see the list of Free Apps. Select any app by clicking on it, then click Free App underneath the app icon.
    Purchase a free application by clicking get app
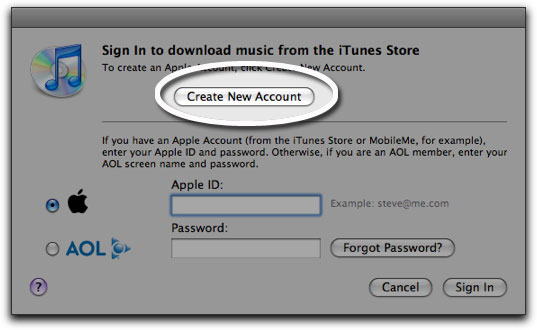
  5. In the pop-up window, click Create New Account.
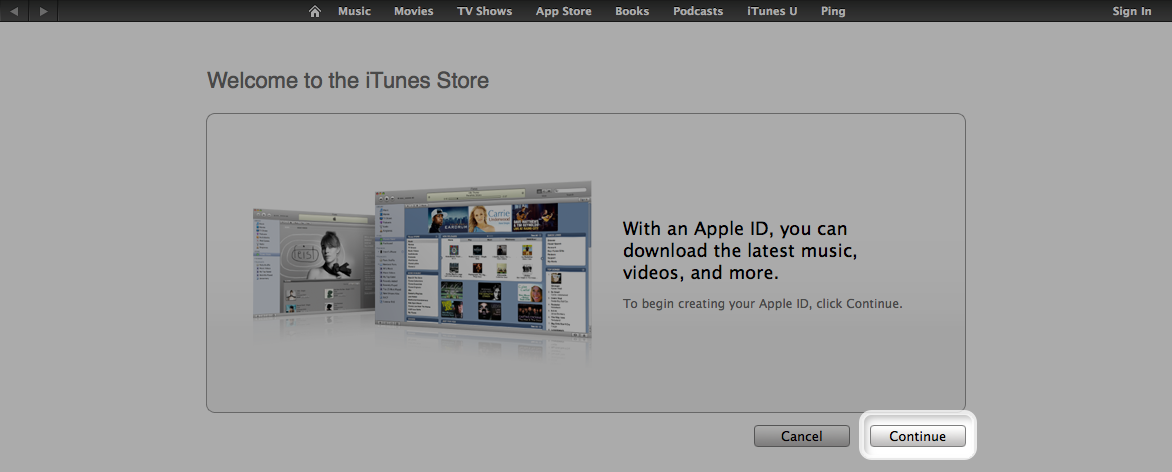
  6. You are directed to the "Welcome to the iTunes Store" screen. Click Continue.


  7. You'll need to read and agree to the iTunes Store Terms & Conditions. Make sure you check the box next to where it says "I have read and agree to the iTunes Terms and Conditions."
  8. Click Continue.
  9. Enter your email address, create your password, continue to create and answer your security question, then enter your birthday. Click Continue.
  10. Select None as the payment option.
  11. Continue to fill out the required name and address fields.
  12. You'll then see a screen that says 'Verify your Account'. Click Done and then check your email for a verification email from iTunes Store.
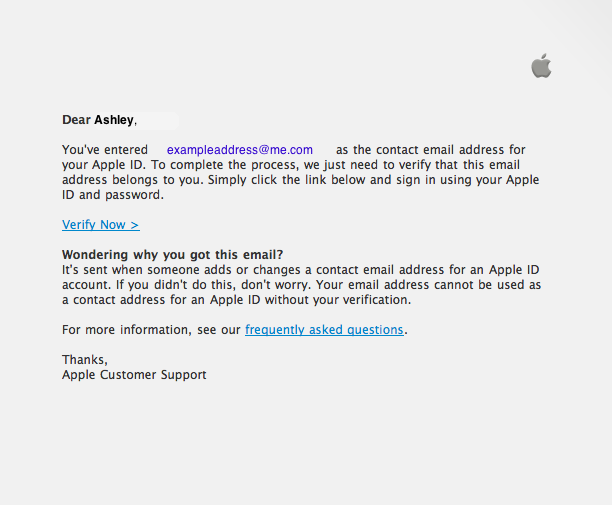
  13. Open the email and click the link enclosed in the email to activate your account. Email text: "You've entered exampleaddress@me.com as the contact email address for your Apple ID... click the link below and sign in using your Apple ID and password."
  14. Once you click on the link, iTunes should then prompt you to sign in with your account name and password.
  15. You'll then see the below "Congratulations" screen. Click Done to be taken to the App Store home page.
 Source: Apple.com

Friday, January 20, 2012

How to creat an iTunes App Store account without a credit card

  1. If you already have an account, choose Settings > Store. Tap the Apple ID displayed and choose Sign Out.
  2. Open the App Store on your device. 
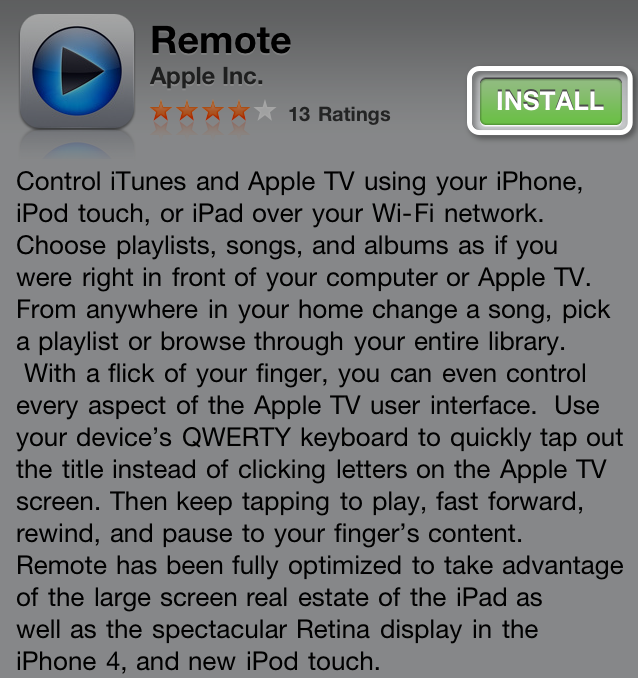
  3. Find a free application on the App Store.
  4. Important: Before proceeding to the next step, you must download and install the free application by tapping Free followed by tapping Install.
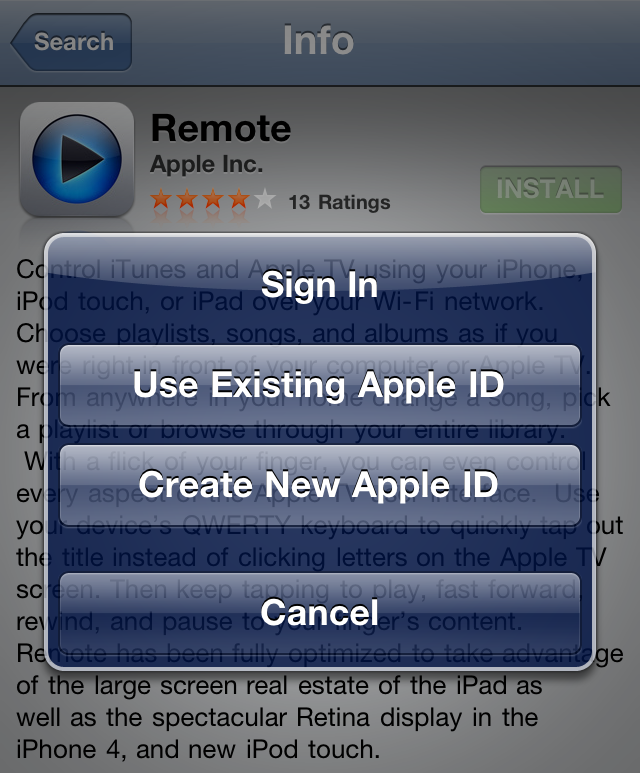
  5. Tap Create New Apple ID.


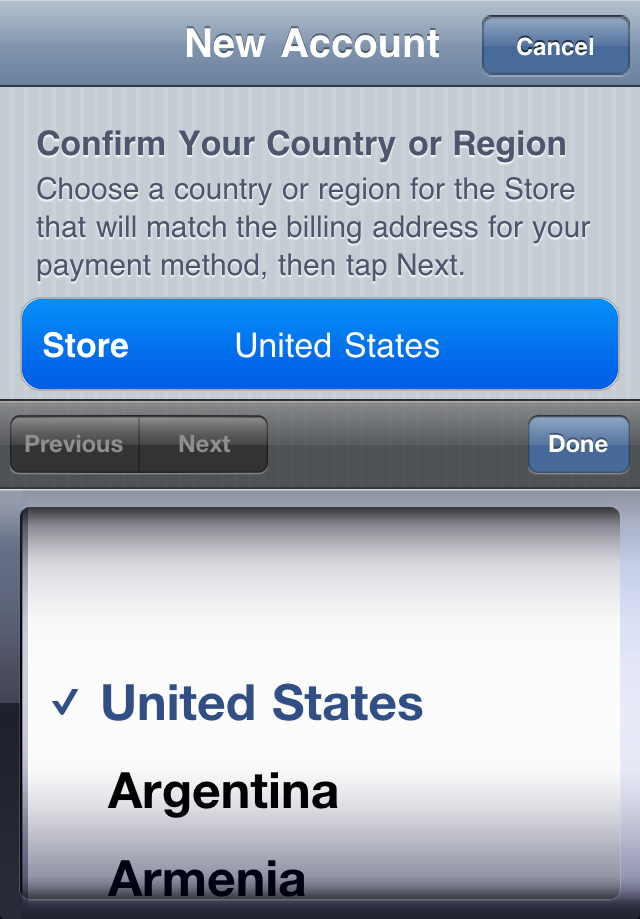
  6. Choose your country, then tap Done.
  7. You'll need to read and agree to the iTunes Store Terms & Conditions. Tap Agree located at the bottom of the page to continue.
  8. Enter your email address, security question, birthday, and create your password. Tap Next.
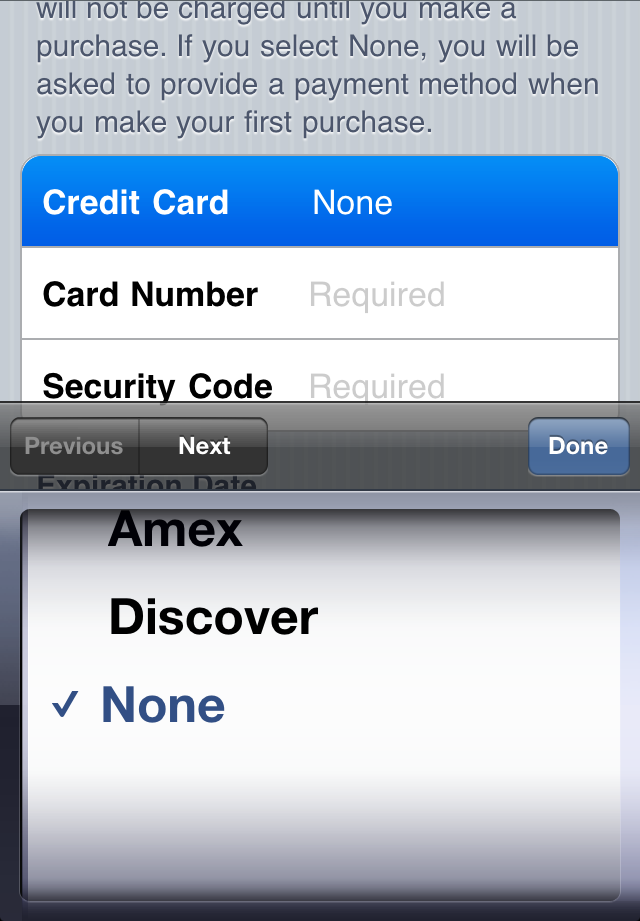
  9. Select None as your payment option.
  10. Continue to fill out the required email, address, and phone number fields. Tap Next.
  11. You'll then see a screen that says "Verify your Account." Tap Done and check your email for a verification email from iTunes Store.
  12. Open the email and click the link enclosed in the email to activate your account. 
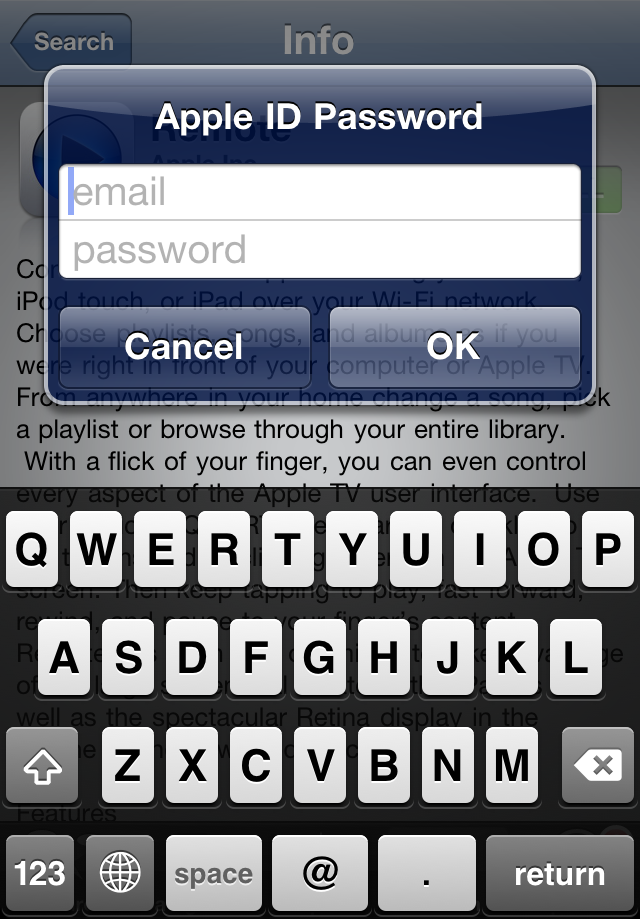
  13. Once you tap the link, the App Store should automatically open and then prompt you to sign in with your account name and password.


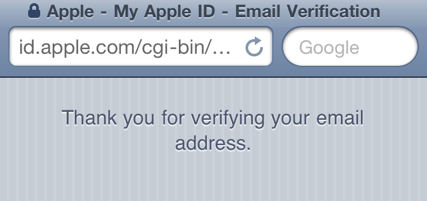
  14. Tap Sign In and you will see a thank you screen.


  15. You have set up your account successfully and you can start enjoying iTunes, iBooks, and the App Store on your iPhone, iPad, and iPod touch.

Source:Apple.com

Wednesday, January 11, 2012

How To Add Your Place To Facebook

Before you start, you’ll need an iPhone. At the moment, you can’t create a place just online.
Support for Android phones is supposed to come out soon, but at the time of this writing an iPhone is required.
Here’s how to get your place listed in Facebook.
Step 1: Physically Locate Yourself Near Your Business
To add your business, you’ll need to be close to it, preferably in your store or next to it.
Take out your iPhone and access the Facebook application.
Step 2: Click “Places”
Click on “Places,” located in the center of the Facebook springboard.

Step 3: Click “Check In”
Click “Check In” in the upper right hand corner.

Step 4: Click “Find or Add a Place”
When you click “Check In,” Facebook will display a list of all nearby places. Instead of clicking on one of these locations, search for the name of your business.

When Facebook doesn’t find it, you’ll be prompted to add your business.

Click on “Add [your business name].”
Step 5: Add Your Business
Enter your business name and an optional description. Click “Add” in the upper right when finished.

Click on “Add” when prompted.

When your place is added successfully, you’ll see this screen:

Tuesday, January 10, 2012

How to instal Android on HTC HD2

All phones deserve a bit of Android love, right?  The HTC HD2, a T-Mobile offering which runs Windows Mobile 6.5, can be served up with a dish of Froyo pretty painlessly, and only requires about 600mb on the SD card.  All you need to do is download this file, unzip it, place the folder on the SD card and navigate to it via the Windows Mobile File Manager App.

From there, tap the file named “CLRCAD”, and  then tap “Haret”, which applies a sound fix and builds the Android OS respectively.  The only downside is the lack of an effective bootloader for easy switching between Windows and Android OS, so if you need to restart the phone, you have to complete the process all over again.  So, if any of you reading this are HD2 owners and decide to try installing Android, please leave a comment below and let us know how it goes.
(note: altering your phone’s software can void your warranty and/or render your phone unusable, so do so at your own risk)